Fortunately, the gridlines in Microsoft Publisher tables are only meant to serve as a guide to assist with the layout of your table elements. But if you don’t need the gridlines and find them to be distracting, then you can follow the steps in our tutorial below to hide gridlines in a Publisher table.
How to Remove Gridlines from a Microsoft Publisher Table
Our guide continues below with additional information on how to hide gridlines in Publisher 2013, including pictures of these steps. Printing and viewing gridlines in a Microsoft Excel spreadsheet is often a setting that needs to be enabled to make the table easier to read when it’s printed. The gridlines make it easier to separate the data visually and can help to eliminate mistakes when evaluating that data. It’s also pretty easy to print them. But documents that you create in Publisher are typically more visually-oriented, and the presence of the gridlines when you’re designing your document can be distracting. Luckily they don’t print on the final document, but you might prefer to hide them from view when you are editing your file. Our tutorial below will show you how to hide the table gridlines in Publisher 2013. You can also read our article on how to remove table borders in Word for ways that you can modify the appearance of a table in a Word document as well.
How to Hide the Lines on a Table in Publisher 2013 (Guide with Pictures)
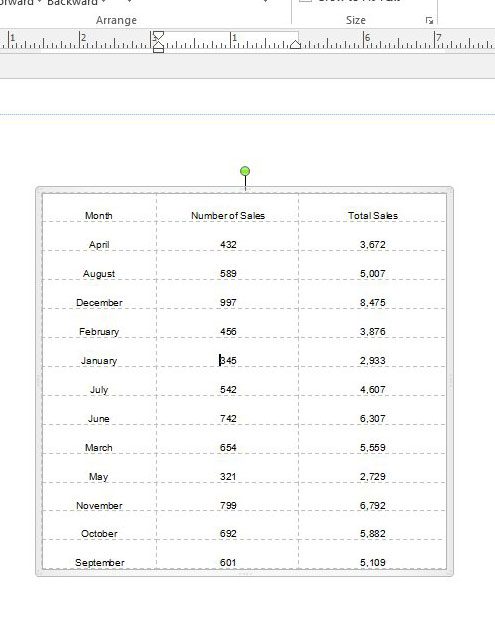
The steps in this article assume that you currently have a table in your Publisher file where you can see the table lines. Following this guide will leave the table and its data intact, but will hide the lines from view.
Step 1: Open your document in Publisher 2013.
Step 2: Click somewhere inside the table to make it active.
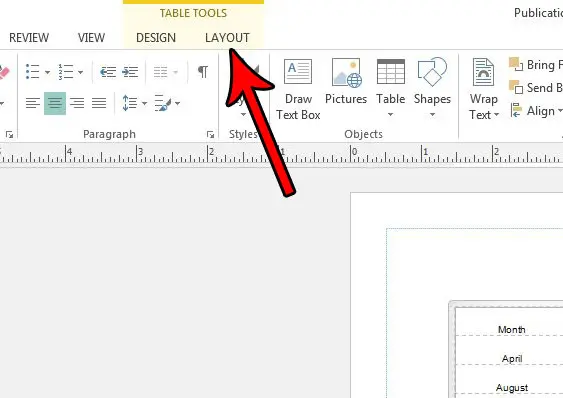
Step 3: Select the Layout tab under Table Tools at the top of the window.
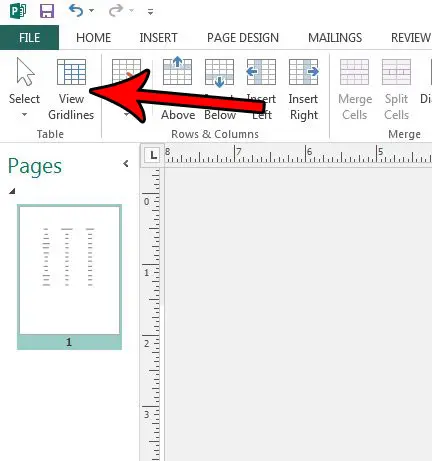
Step 4: Click the View Gridlines button in the Table section of the ribbon.
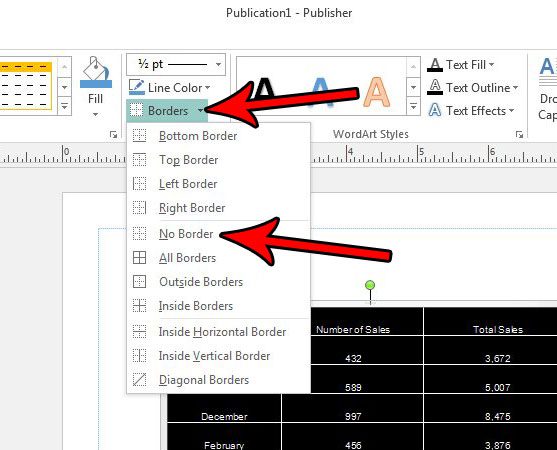
If you still see lines in your table, then you likely have borders on the table, rather than gridlines. To remove the borders from a table, first select all of the cells in the table, click the Design tab under Table Tools, then click the Borders option and select the No Borders item. Now that you know how ot remove gridlines from a table in a Microsoft Publisher document you will be able to adjust this setting based on whether or not your current document would benefit from them. Do you need a Publisher document that’s a different size than one of the default page size options? Find out how to create a custom page size in Publisher 2013 if you need a document that is legal sized, for example.
Additional Sources
After receiving his Bachelor’s and Master’s degrees in Computer Science he spent several years working in IT management for small businesses. However, he now works full time writing content online and creating websites. His main writing topics include iPhones, Microsoft Office, Google Apps, Android, and Photoshop, but he has also written about many other tech topics as well. Read his full bio here.